How to Prepare Your Artwork Files for the Best DTF Print Quality
A stunning DTF print begins long before the heat press warms up. It starts on your computer, with a high-quality, properly formatted digital file. In the world of printing, the “Garbage In, Garbage Out” rule is absolute. A low-quality image will always result in a low-quality print.
But don’t worry, creating a “print-ready” file is easy when you know the rules. This guide will walk you through the essential steps to ensure your artwork translates into a crisp, vibrant, and professional DTF transfer every time.
Rule #1: High Resolution is Non-Negotiable
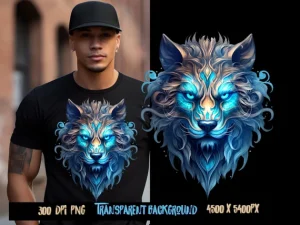
Resolution refers to the amount of detail in your image, measured in DPI (Dots Per Inch). For printing, the industry standard is 300 DPI at the final print size.
Images saved from websites are typically 72 DPI. While they look fine on a screen, they will appear blurry, fuzzy, and pixelated when printed. You cannot simply “stretch” a small, low-resolution image to be bigger without losing significant quality.
Rule #2: The Background MUST Be Transparent
This is the most common mistake we see. Your DTF printer will print everything in the file. If your design has a white background, it will print a giant white box around your design.
To avoid this, you must save your file with a transparent background. The best file format for this is PNG.
How to check for transparency? In most design software like Photoshop, a transparent background is represented by a grey and white checkerboard pattern. If you see that checkerboard behind your design, you’re good to go! If you see solid white, you need to remove it.
Rule #3: Avoid “Soft” Edges and Tiny Text
The DTF process requires a defined area for the adhesive powder to stick to. This means designs with “soft” or “feathered” edges, glows, or semi-transparent drop shadows do not print well. They can result in a fuzzy print or a weird halo of adhesive around your design.
- Edges: Strive for clean, hard edges in your design.
- Text: Very thin or tiny text can be problematic, as there isn’t enough surface area for the adhesive to grab onto. Make sure your text is bold and large enough to be durable.
Your Pre-Submission Art Checklist
- Resolution: Is my file 300 DPI at the desired print size?
- File Format: Is my file a PNG?
- Background: Is the background 100% transparent?
- Edges: Are the edges of my design clean and defined?
- Text: Is all text legible and not too thin?
Great Art Makes Great Prints
Taking a few extra minutes to prepare your artwork is the secret to a professional print. It saves time, money, and guarantees you’ll be thrilled with the final product. Ready to upload your masterpiece?